photo hbhwheader_zpsc129b375.png


 photo home_zps30e07338.png  photo about_zpsa6386335.png  photo recipes_zpseeaa66f1.png  photo fitness_zpsa76cc48f.jpg  photo crafts_zps2772ae8c.png

Monday, September 16, 2013

30 Days of Dinner: Day 1

Lately I have been a little lazy, and laziness usually means we go out to eat or end picking up some takeout. It is now at the point where we can't decide where to go eat because nothing sounds good anymore and I think this may be nature's way of our bodies shouting "give me nourishment!" Well message received because I decided to start a little challenge for myself and it's called 30 Days of Dinner!

In my Thirty Days of Dinner challenge I (or Trisden) am going cook dinner every night for the next thirty days!  The good thing is, the meals we cook are usually somewhat healthy it's just that we don't do it  often enough so I am excited to try this out and see how we feel at the end of the thirty days.  I think our cooking skills can only get better, its budget friendly, plus it's a lot healthier than going out, or at least can be anyways.  I probably won't post a recipe each and every single day, but I will be recording my progress so feel free to join me or just follow along throughout the month.  I could use the support!

Tonight I made sausage and brown rice stuffed peppers.  They are super easy to make and are extremely filling.  I usually eat two peppers which is right around 300 calories and they are pretty lowfat.  I like to cook the sausage in water and drain out all the liquid because that helps cook out a lot of the excess grease and keep the fat count down.  Recipe adapted from laurenconrad.com.

Day 1 of Thirty Days of Dinner:
Sausage and Brown Rice Stuffed Peppers


Here's what you'll need:

1 cup instant brown rice
1 cup chicken broth
1/4 cup water
2 garlic cloves, minced
1/2 red onion, chopped
2 links chicken sausage, casings removed and cut into bite size chunks
1 can italian stewed tomatoes, drain a little of the excess liquid and breakdown tomatoes (don't be afraid to use your hands!)
3 or 4 bell peppers, cleaned and halved
1 tablespoon extra virgin olive oil


Preheat oven to 350.  Cook brown rice to package instructions using chicken broth rather than plain plain water (if you wish), it does add a lot more flavor.  In a large pan, add the sausage chunks and cover with 1/4 cup of water.  

Put on medium heat until water is hot and is almost to a boil (you can add more water if you need to) then cover and reduce heat to med/low.  Cook covered for about 10 minutes stirring occasionally and breaking sausage down into smaller bits with spoon.  

When sausage is cooked through drain the liquid and set sausage aside.  Add olive oil to the pan and saute onion and garlic until onions are translucent.  Stir in stewed tomatoes and cooked rice.  Spoon mixture evenly into each pepper.  Bake for 30 minutes.  EAT!

Stats for 1 large stuffed pepper:
Calories: 155; Carbs: 22; Fat 5; Protein: 7; Sugar: 6; Fiber:4 

I linked up here:
katherines corner

Photobucket

Wednesday, September 11, 2013

Easy Flourless Peanut Butter Cookies


Last night I made peanut butter cookies.  They are so good and only require three ingredients: sugar, eggs and peanut butter, which thank goodness are my kitchen staples so I can make them anytime I want.  Last night Trisden and I were having a major sweet and a green apple just wasn't going to cut it, and going to the store was not an option so I pulled out the mixer to make some darn cookies.  I am not really sure where this recipe originated, but my Grandma has been making them for years and they are one of my favorites!  

Ingredients:
1 cup peanut butter (creamy or crunchy)
1 cup sugar
1 egg

Yields about 20 cookies


Preheat oven to 350.   Mix all ingredients in mixer or by hand until combined and dough forms.  Roll cookies into ping pong size balls (or smaller) and press with a fork.  Bake for 10-15 minutes.  I like to keep mine in for the full 15 minutes for a crispier cookie.  Let cool, and eat!


I enjoyed my cookies last night watching Weeds on Netflix.  I just started it and am only about three episodes in and it seems pretty good.  I just finished watching Orange is the New Black and loved it!  The season finale ended with a huge cliffhanger and I can't wait to see what's in store for Piper in season 2.  What shows are you loving now?

Cookie Stats for 2 cookies:
Calories: 229; Carbs: 26g; Fat: 13g; Protein: 6g; Sugar: 22g; Fiber: 2g

Tuesday, September 10, 2013

Lovely Embroidered Bookmarks


I received a Nook for Christmas two years ago and I absolutely love it.  It's great to take to the beach, and I can have lots of books without taking up lots of space on the bookshelf.  At first I was leery about getting one because I love books!  I love the way they smell and the pretty covers but after using the Nook for a while I quickly forgot about what I was missing in a physical book.  Plus the convenience of an e-reader is incredible, all I have to do is buy while I'm home in my pj's.

But... last weekend we went into Barnes and Noble for the first time in ages and I realized I really missed going to the store and shopping for books!  The smell of paper, the colorful book covers and fonts and the faint smell of coffee from the Starbucks in the corner.  Barnes and Noble is probably one of the most relaxing places ever and I didn't realize how much I missed it until this past weekend.  

So naturally when I went home I was inspired to make some pretty book accessories and decided to make some bookmarks out of scrap fabric I had laying around.  This tutorial is super simple and makes for great gifts for all the bookworms in your life!

Materials:
Scrap fabric
Embroidery floss
needle
strait pins
iron
pencil
paper
ruler or measuring tape

If first I figured out how big I wanted the bookmark to be and sketched out a pattern.  I measured out 5 inches by 1.5 inches and then added about 1/2 - 3/4 in around the entire thing for seam allowance.


Next, I ironed out my scrap fabric until nice and wrinkle free.


Cut out your pattern and pin it to your fabric.  Cut two pieces per bookmark for the front and back.


Sketch the design you want on the fabric lightly with a pencil.


Embroider over your penciled in design.  I used split stitch, it's super easy and fast to do.


Flip your fabric over so wrong side is facing up, fold in edges to whatever measurement you had for a seam allowance and then iron it flat.  I also trimmed the folded in corners so they would be less bulky.


Attach the wrong sides together using straight pins.


Attach both sides by using blanket stitch.  Now go read a book and enjoy!

I linked up to these great parties!


Tuesday, September 3, 2013

Texas Roadhouse: Make your own Chicken Critter Salad


Texas Roadhouse has one of the best salad ever, the Chicken Critter salad and if you haven't had it I would highly recommend it.  It's a giant plate of green leaf lettuce topped with chicken fingers, cheese, tomato, onion, egg, and most importantly your dressing of choice.  But why wait to eat this plate of leafy green goodness until your next trip out, make your own at home.

This makes for the perfect lunch to pack for work or on busy nights when I don't feel like cooking anything for dinner.  I usually do all my grocery shopping on the weekend and wash and cut all my veggies for easy meal assembly during the week.  For the chicken, I buy Walmart's Great Value brand frozen breaded chicken bites that you can either bake or microwave, they are very yummy and only run about $5-6 per bag.  I love this salad with ranch dressing, but I am super picky about my ranch.  I cannot stand bottled Ranch of any kind so I go for the Hidden Valley Ranch Dressing packet that you mix yourself with 1 cup of mayo and 1 cup milk.  Not the most healthy, I know but very delicious.

Chicken Critter Salad at Home:
4 pieces of Walmart Great Value: Frozen Breaded Chicken Bites, cut into small bites
2 cups chopped green leaf lettuce
2 tbsp chopped tomato
2 tbsp chopped green pepper
2 tbsp chopped green onion
2 tbsp shredded cheese
1 chopped hardboiled egg
2 tbsp your favorite dressing

Pile all ingredients on your plate and enjoy!


Salad Stats:
Calories: 348; Carbs: 25g; Fat: 17g; Protein: 17g; Sugar: 5g; Fiber: 3g

With Ranch:
Calories: 449; Carbs: 27g; Fat: 27g; Protein: 18g; Sugar: 6g; Fiber: 3g

Thursday, August 29, 2013

$30 DIY Whimsical Porch


When I lived in Wilmington one of my favorite things to do was go to the beach, my second favorite thing to do was drive around looking at all the gorgeous beach houses that I hope to one day live in...a girl can dream!  One thing a lot of beach houses had in common (that I absolutely loved) was sheer curtains hanging on the porches.  Driving by those homes with the whimsical sheers blowing in the warm wind made me want to sit on their porch and read a great book.

I am no longer in Wilmington by the beach but I figured why not bring some beach-y-ness and whimsy to my little apartment!  Not only does it create a magical and relaxing outdoor experience but it also adds privacy while I'm outside on my tiny porch.  We are lucky enough to be on the third floor with a pretty flowering tree right next to us, so we do have some privacy already but the sheers really top it off.

This is a cheap project that can really add a lot to a small outdoor space.  It was super cheap for me because I already had the rods and sheers.  All I had to buy was the hanging hardware, which I am sure is somewhere, but couldn't find the pieces.


DIY: $30 Whimsical Porch
2 adjustable Walmart curtain rods, nails and hardware should be included - $5
4 sheer panels, whatever length you want, mine are 84" -  $20-25
hammer
level

Figure out the length you want the curtain rod to be and nail in the hardware.  


Clip in the curtain rod and make sure its level (or close to it, it doesn't have to be perfect).  Take down the rod, and slide on the curtains and clip rod back into place.  You're done, enjoy!


Wednesday, August 28, 2013

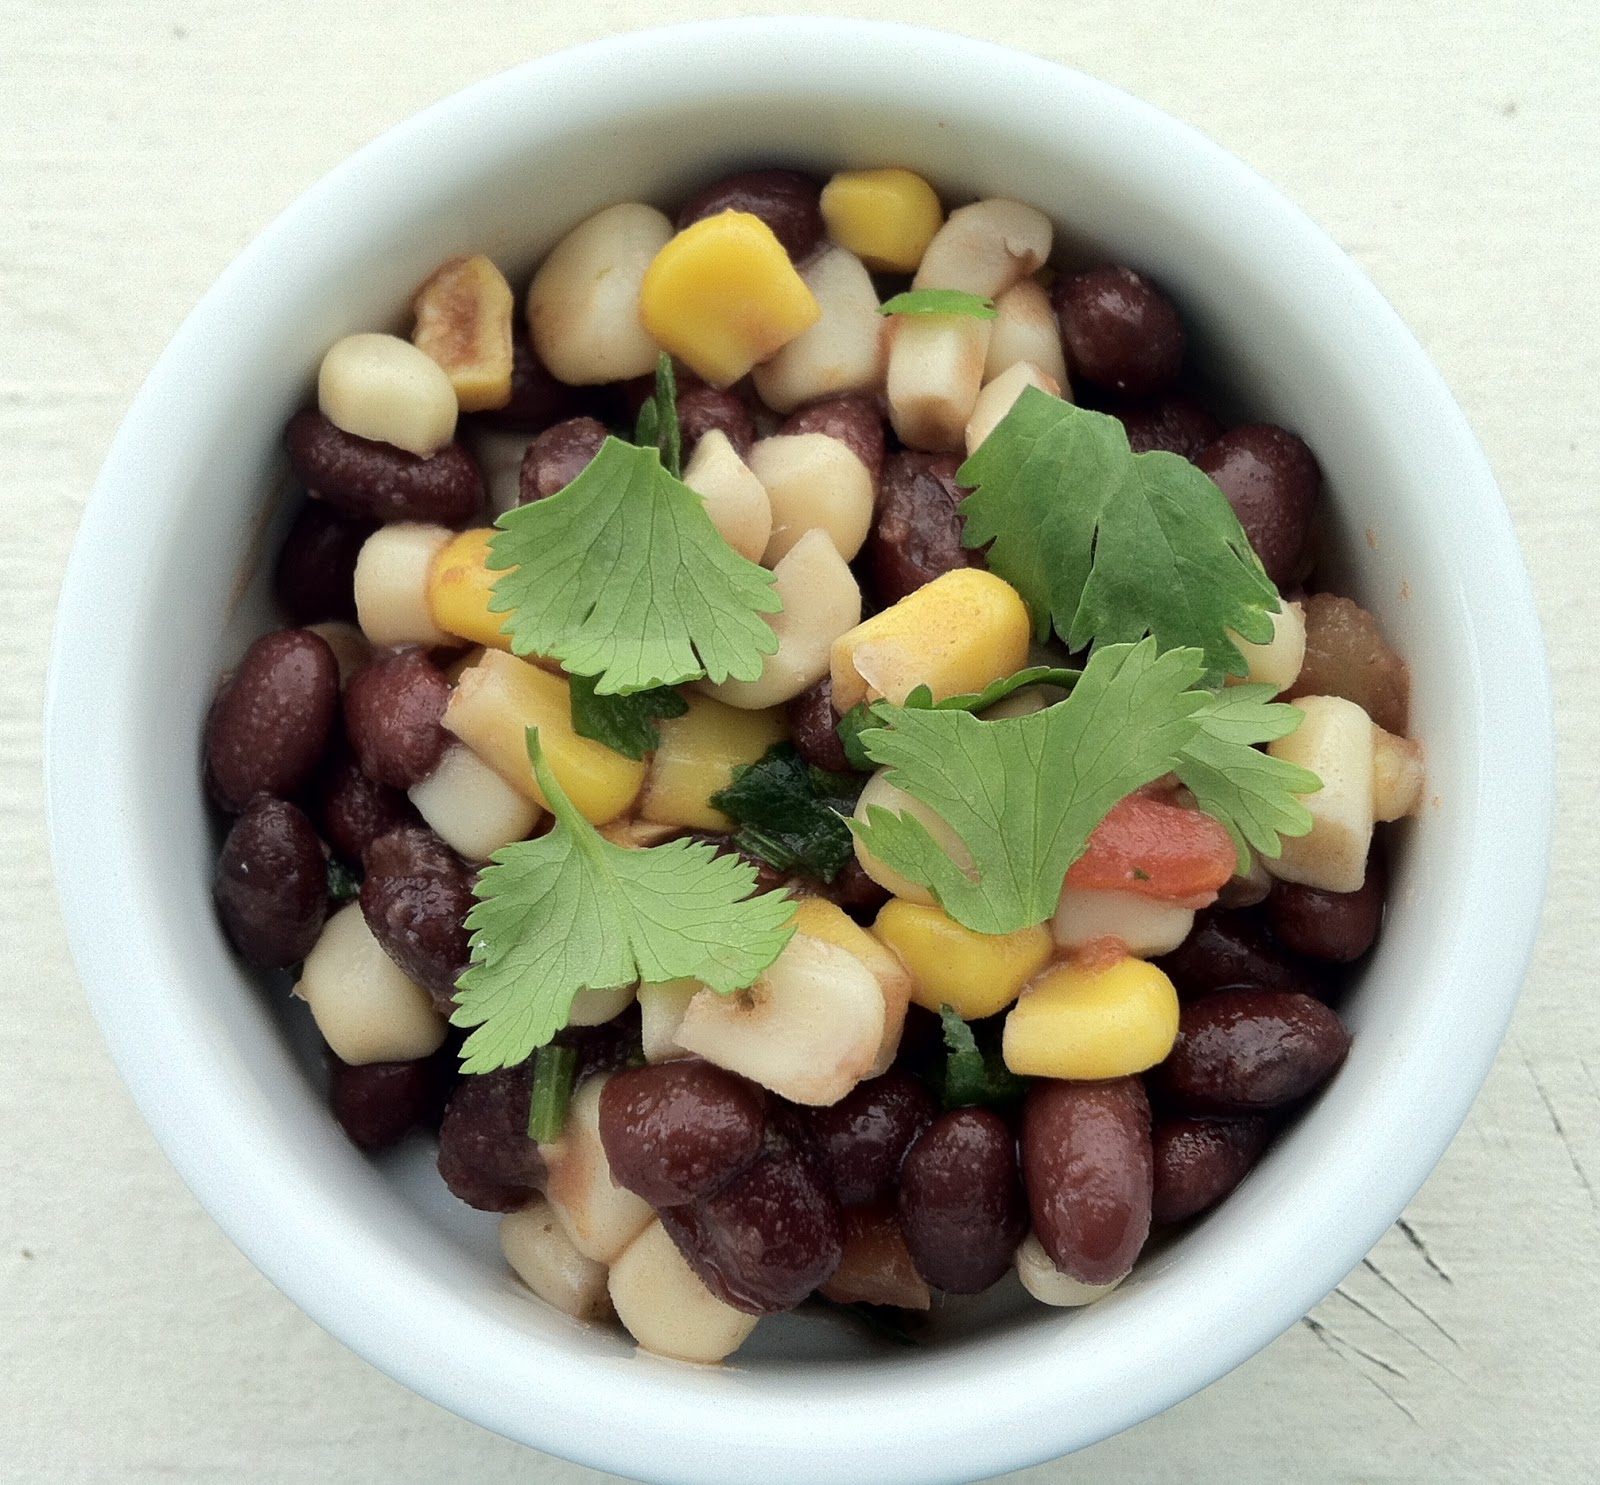
Corn and Black Bean Salsa


The other day I was in the mood for chips and salsa, but the jar of Chi Chi's brand salsa in the fridge wasn't really doing the trick for me so I decided to make this yummy corn and black bean salsa. I love this stuff because it's super cheap and easy to make, not to mention it also makes a ton.  

I like to make a batch of it at the beginning of the week and use it for different meals or snacks each day.  It's so versatile, you can eat it alone, with tortilla chips, on tacos, as a salad topping or even in place of salad dressing.  I'm pretty sure I have had this stuff all those ways I just listed and it's only Wednesday!  I think it's safe to say I am addicted.  Try it!


Corn and Black Bean Salsa Recipe

Here's what you'll need:
1 can yellow corn, drained and rinsed
1 can white corn, drained and rinsed
2 cans black beans, drained and rinsed
1 can diced italian style tomatoes, partially drained
1/4 small onion, chopped
1/4 cup fresh cilantro, coarsely chopped (you may want more or less depending on taste)
Juice from 1 lime

Combine all ingredients in large bowl.  Tastes great served chilled or at room temperature, you decide.  Enjoy!

This recipe makes about 12 one half cup servings.

Nutrition: Calories: 110; Carbs: 19g; Fat: 1g; Protien: 6g; Sugar: 5g; Fiber: 6g


Monday, February 4, 2013

Super Bowl Cookies


As you know the Super Bowl was yesterday and in light of the festivities I decided to make some fun cut out cookies to accompany the game and commercial watching.

I got the idea for these cute cookies from Lizy B Bakes; check them out here!  She makes lots and lots of beautiful treats, and her cookies are practically mini works of art!  I used her recipes for the sugar cookies and royal icing.  The cookies make about two dozen good sized cookies, and the frosting recipe would probably be enough to ice two batches.  

I was a little nervous to decorate the cookies, as this was my first time ever using royal icing, but it wasn't so bad.  They turned out pretty well for a first-timer!  It's all in getting the proper icing consistency.  I found in this royal icing recipe that I needed to add more powered sugar to get it thick enough for piping, and it needed some water to be thin enough to spread for flooding.

What really helped with the decorating was a great tutorial at With Sprinkles on Top, which is another awesome baking site with tons of inspiring ideas!  Here they show step by step how they decorated their own version of these exact cookies.  Awesome!